Nova: How to Score Higher (Reaction Tips from the Makers)

We built Nova to be honest. No tricks, no systems you have to datamine, no stat hidden three menus deep. Just how fast and how accurately you can clear neon targets before they blink out. Here's how to push your score, straight from the people who set the numbers.
Read the countdown arc
Every target draws a thin countdown arc that sweeps away as it ages, shading from green to red. This is the single most important thing on screen. That colour is a straight hue slide under the hood: green the instant a ring spawns, yellow at its halfway point, full red as it dies. The moment a target passes 70% of its life it flips to "urgent," its outline brightens, and the arc begins to pulse. Green means plenty of time, so leave it for its perfect window. Red and pulsing means clear it now or lose a life. Once you're reading the arcs instead of the raw sizes, triage stops being a decision and becomes a reflex.
Triage protects your lives; timing wins the score
Two forces pull at you, and good play balances them.
Survival first. When a target's arc goes red, it is a fraction of a second from fading, and a faded target costs a life. Red arcs get cleared immediately, no exceptions. Protecting your three lives outranks any fancy point play, every time.
Then, timing for points. When you have breathing room, don't swat fresh targets on sight. Each target blooms up, holds, then shrinks, and popping it right at the top of its bloom scores double, a "PERFECT." So the high-score line is to let a green target grow to its peak and snipe it there while never letting a red one slip. The two goals rarely fight. The arc tells you which mode each target is in.
Grab the specials on sight
Two special targets change your priorities the instant they appear. They're rare by design: roughly one spawn in twelve is gold, about one in fourteen is a heal, and everything else is a normal ring.
- Gold (diamond mark, amber) is worth triple. Whatever you were about to do, hit the gold first.
- Green (plus mark) restores a life. If you've dropped a heart, this is the most valuable thing on the field, so get it before it fades. At full lives it pays out as a double-score bonus instead, which most players never notice.
Neither has a perfect window; the bonus is already baked in, so there's no reason to wait on them. Both still raise your combo, so they're never a detour.
The combo is most of the score
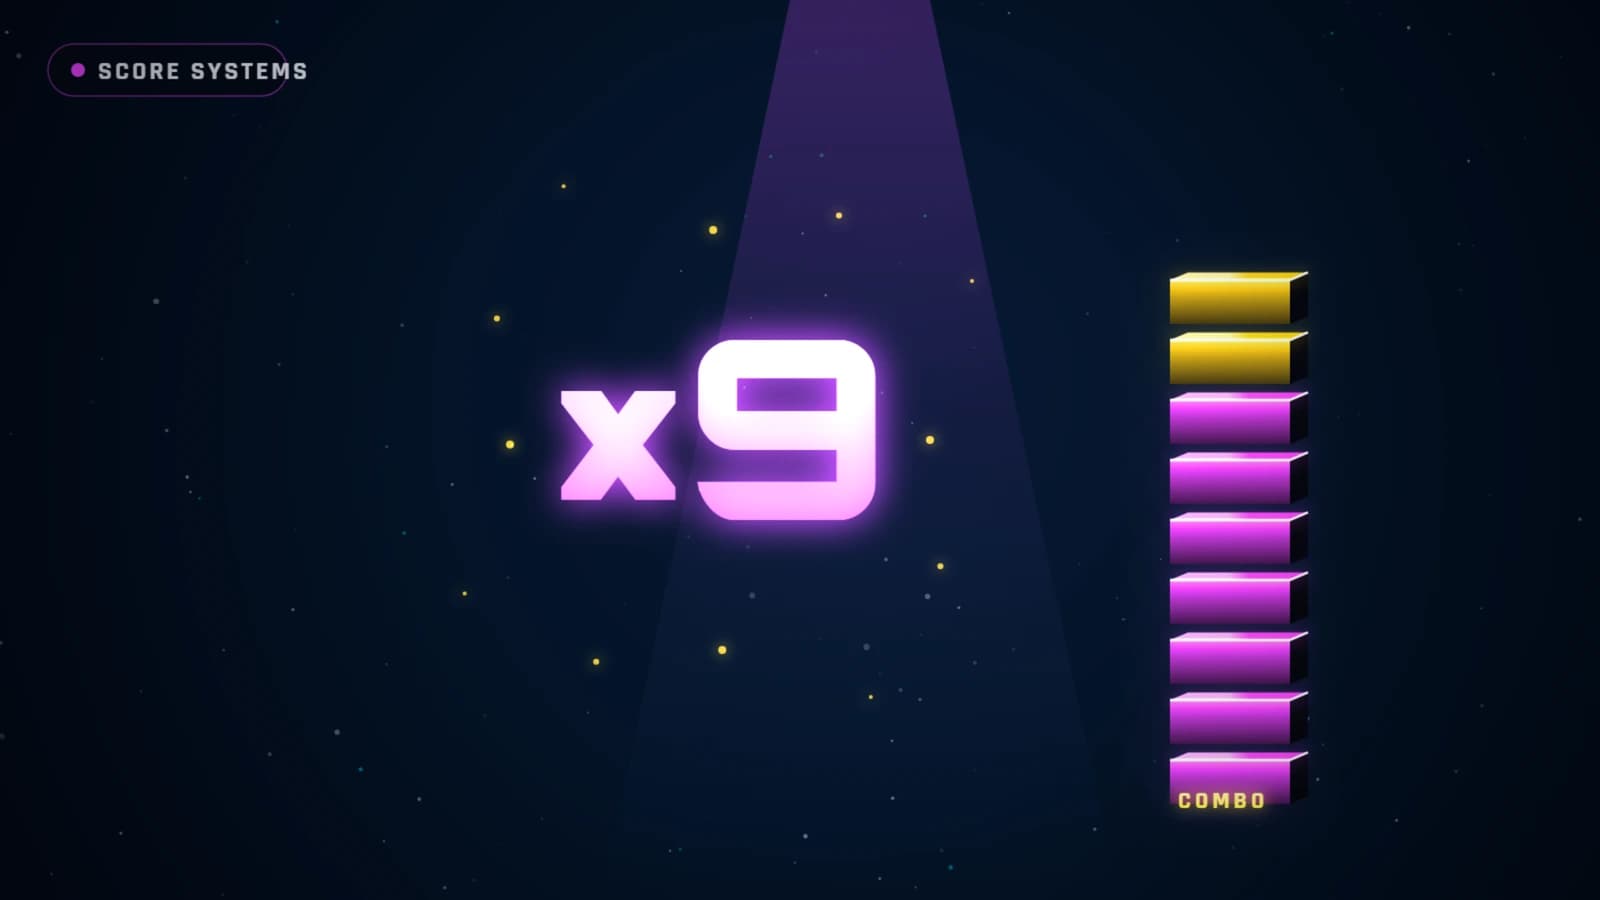
Points aren't flat. Each pop scores five times your current multiplier, and the multiplier climbs by one with every clean pop up to a hard x9. Eight clean pops carry you from x1 to the cap. A target popped at x9 is worth nine times the same target at x1, and a gold on a maxed streak is 135 points from a single tap. If you've played Ionizer, our neon brick-breaker, the instinct carries straight over: the multiplier, not the individual hit, is where a run's points actually live. It's also the same x9 ceiling we cap Aura Dash at, so if you've chased a streak there, this one reads familiar. Guard it. Never let a target fade, never tap empty space.
The maker's cut
Everything above is feel. Below are the exact dials. All frame counts assume 60fps, which the loop normalises to, so the pace holds the same on a 120Hz screen.
How the pressure ramps. Two dials tighten the longer you survive, and both bottom out around the 34-to-35-second mark, after which the pace holds flat:
- Target lifespan: starts at 130 frames (~2.17s) and shortens by 2.2 frames per second to a 52-frame floor (~0.87s).
- Gap between spawns: starts at 80 frames (~1.33s) and closes by 1.6 frames per second to a 26-frame floor (~0.43s).
- Full-size bloom: a ring hits its peak size at 18% of its life, roughly 390ms after it spawns early on, down to about 156ms late in a run.
How scoring pays. Base score is 5 × combo:
- Plain pop: 5 × combo (5 at x1, 45 at x9).
- Perfect normal (popped in the 15%–30% band): double, so 90 at x9.
- Gold: triple, so 135 at x9.
- Heal at full lives: double bonus, 90 at x9.
- Combo: +1 per clean pop, hard cap at x9. A fade or an empty tap knocks it back to x1.
The fairness we hard-coded.
- The minimum hit radius holds at 16px, and the tap test adds 6px of grace on top, so a ring shrunk to a single dot still answers a tap within 22px of its centre.
- A missed tap into empty space costs your combo but never a life. You only bleed a heart when a target fully fades unclicked, and you start with three.
- Targets never spawn closer than 60px to an edge and run 30 to 44px in radius, so nothing blooms half off-screen.
Hunt the perfect
The perfect double has no telegraph. Nothing on the target tells you the window is open; the word PERFECT only flashes after you have already nailed it, which is late help at best. So here is exactly where the window lives: a normal target scores double if you pop it between 15% and 30% of its life. The ring reaches full size at 18%, so the band opens a hair before the target finishes swelling and stays live through the first slice of its shrink. In size terms, the ring sits between roughly 83% and 100% of its maximum the entire time the bonus is available.
The practical cue: pop it the instant it looks full-grown, right as it stops swelling. If it still looks small and climbing, or is already visibly collapsing toward the centre dot, you're outside the band and scoring flat.
The catch is that the window shrinks as you last. Fresh, you get about 325ms to land a perfect. Deep in a run that closes to roughly 130ms, barely eight frames. Late game, fishing for a perfect on one ring while three others age toward red is how you hand a life to the timer. Hunt perfects when the field is calm; when it's crowded, take clean flat pops and keep the streak alive.
Impose an order when it fills
Panic-tapping empty space feels productive and quietly wrecks your combo. Every tap should land at a target. When spawns come thick, impose a rough sweep: clear one region, then move to the next, all while still honouring the arcs. A red target pulls you off the sweep, then you resume where you were. A little order goes a long way once the spawn gap drops under half a second.
The checklist
- Read the arcs. Red = clear now, green = save for its peak.
- Take specials instantly. Gold for triple, green to heal, and neither has a perfect window.
- Time your pops at full-grown size for the perfect x2.
- Guard the combo. Never let one fade, never tap air.
- Sweep the field when it fills, breaking pattern only for a dying ring.
Reflex gets you started. Reading the arcs and hunting the 15-to-30% window is what earns the high score. Play Nova and see how long you can hold a clean streak.
Frequently asked questions
What is the perfect-timing bonus?+
Every target blooms up, holds, then shrinks away. Pop it right around its peak, just after it finishes growing, and you score DOUBLE, with a 'PERFECT' pop. So for maximum points you don't want to swat targets the instant they appear or at the last flicker; you want to catch them at the top of their bloom.
What do the coloured rings and the little arc mean?+
Each target has a countdown arc that sweeps away as it ages, shading from green (fresh, plenty of time) to red (about to vanish). Read it like a fuse: green targets you can leave for their perfect window, red ones you clear right now before they cost you a life.
What are the gold and green targets?+
Special spawns. A gold target (diamond mark) is worth triple, so always take it. A green target (plus mark) restores a life if you've lost one, so grab it the moment you're down a heart. Both still build your combo.
How does the combo work, and do I lose a life for a wrong tap?+
Every successful pop raises your multiplier up to x9, and each pop scores five times the multiplier. Letting a target fade OR tapping empty space resets you to x1. A missed tap only breaks the combo; it doesn't cost a life. You lose a life only when a target fully fades unclicked, and you get three.